Game Dev Diary (Day 2)
Published on: Saturday, November 23, 2024 at 1:00 PM PST
Written by Josh Bright
Goals for today
- Create repo for the game
- Start Godot project
- Get a player moving on the screen
- Build a tile map for a more interesting place for the player to move around on
- Write up about the interesting stuff and post on my blog
- Have Fun!
Setup
The repo that will hold my code is at https://github.com/majormunky/finns-quest/. Each day i’ll have a branch which will then get merged into the develop branch. The main branch is going to only be used once i’m ready to publish to Steam (my ultimate end goal!).
Starting Artwork
I recently bought an asset bundle on Humble Bundle called “Gamedev Market Best of 2024”, which comes with 87 packs. This includes both artwork and sounds/music, so I should be able to make some progress by sticking to whats included. In looking at the license for this on the Gamedev Market, it does appear like they don’t want me to be able to distribute the artwork outside “the relevant media product”, so I think for now i’ll have to not include the artwork in the repo. Should be ok for now but makes it a bit difficult if I switch computers or something, but, will worry about that later.
Today I will be using:
Godot Setup
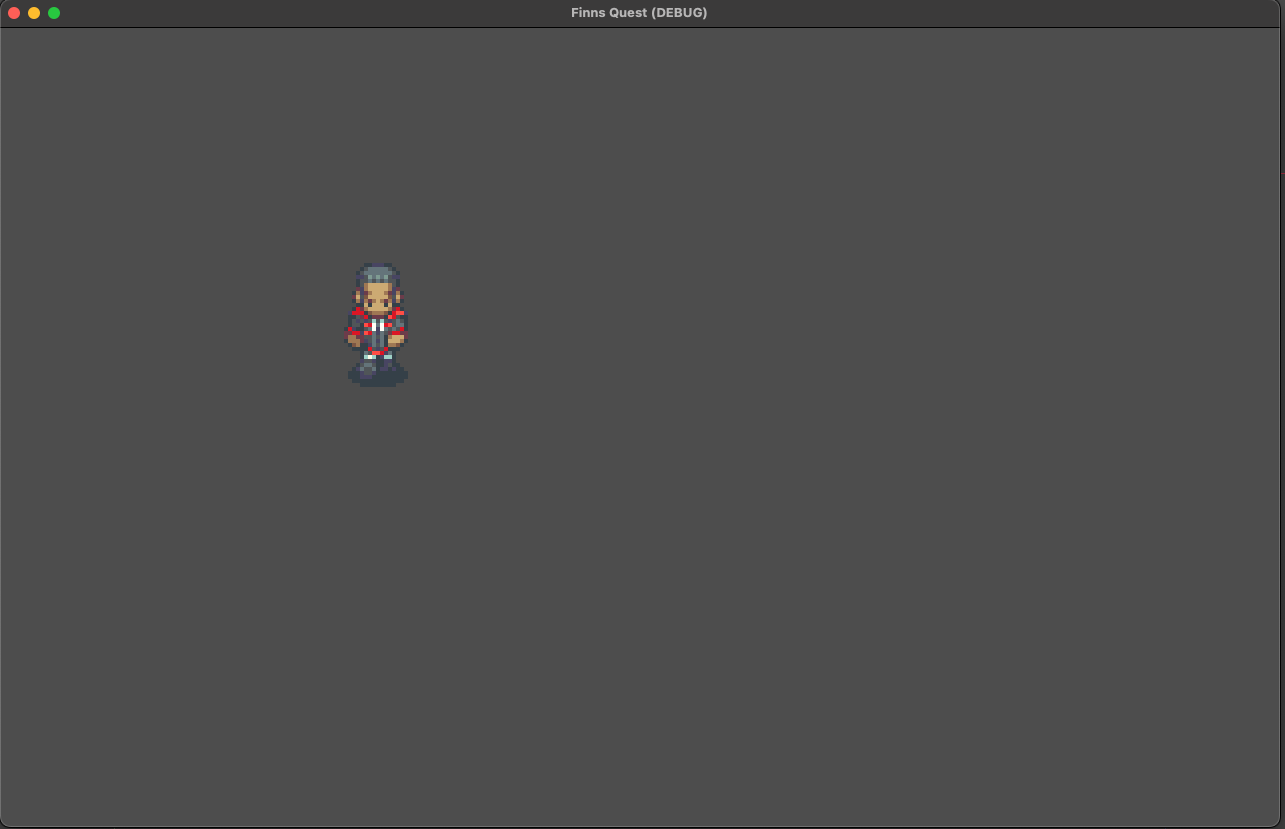
In the end, i’m wanting things to look sort of ‘Stardew Valley’-ish. By default, Godot will make it so a normal pixel art character is pretty tiny on the screen. The easiest way i’ve found to fix this is to just make the artwork bigger, so I don’t have to worry about scaling within Godot itself. In this case, i’m going to take the character frames and quadruple the size.
I’ve ran into various issues trying to use scaling, either the viewport in the editor doesn’t match what is on the screen when I play the game, or positioning starts being wierd, and the less issues with this type of stuff is worth resizing artwork.
This gets things looking pretty good for now.

Player
For setting up the player, i’m going to be going pretty simple at the start, where I have a Sprite2D node, and an Animation Player that will adjust what frame is currently showing. Later on I will probably switch this over to an Animation Tree instead, but for now, not needed.
Animation
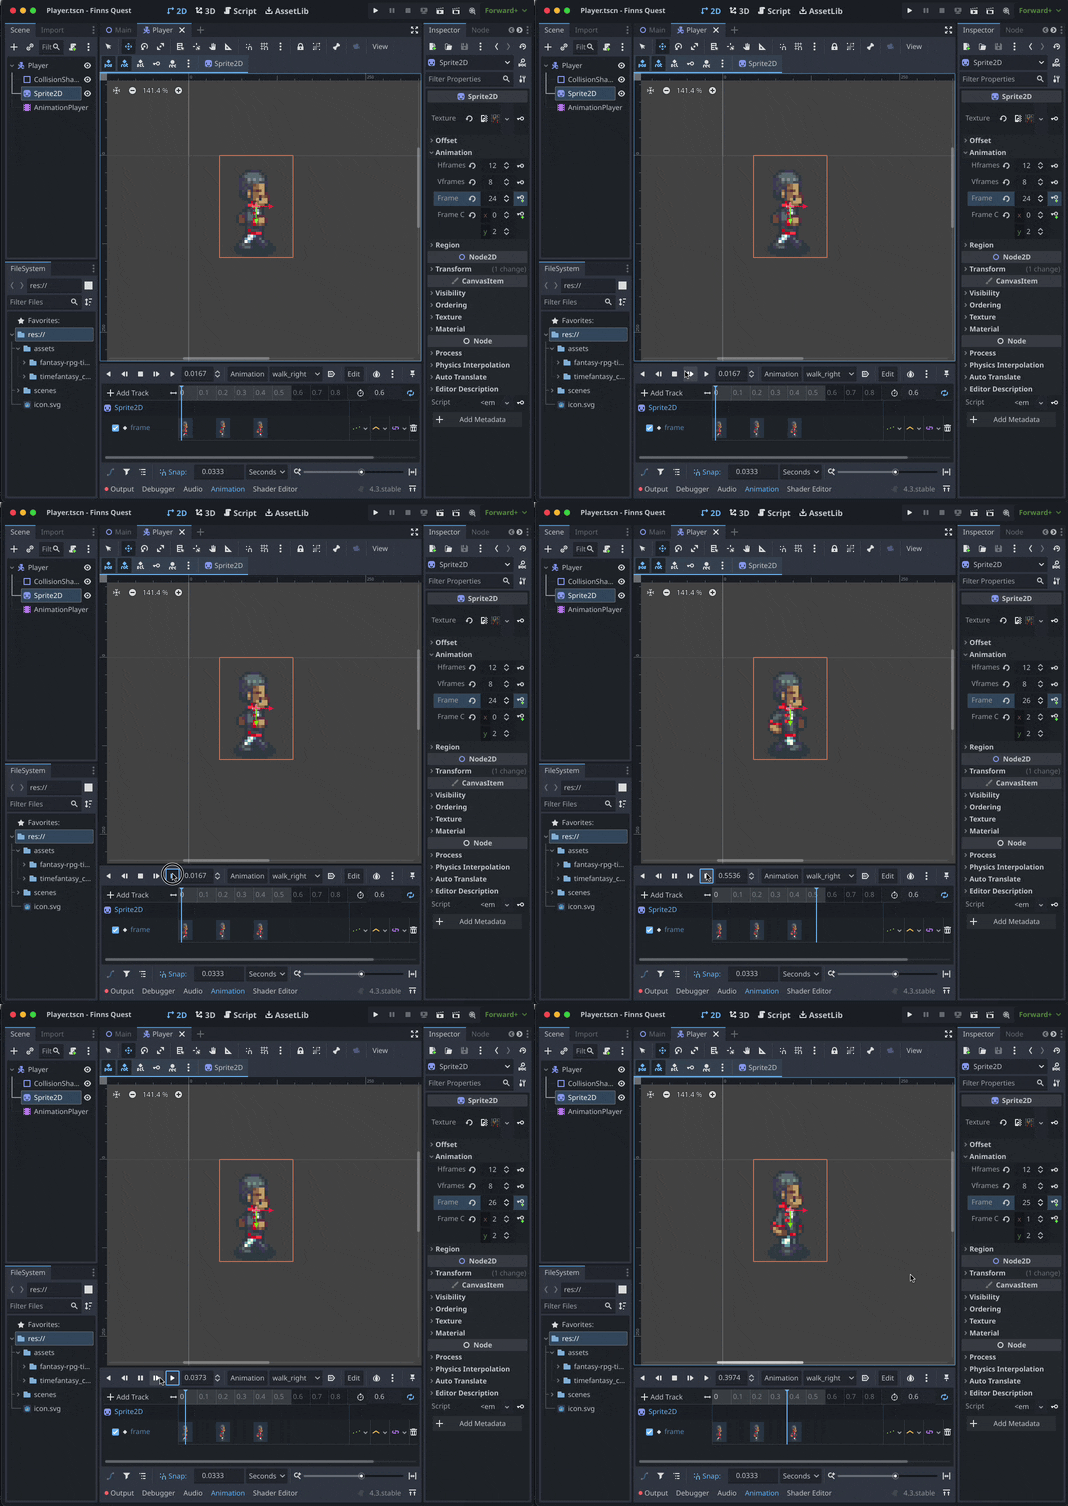
Setting up the animations is pretty easy to do with the Animation Player. The first thing to do is to setup the Sprite2D node to use the full spritesheet that includes all the animations. The spritesheet also needs to be spaced correctly so there is consistent spacing, otherwise you won’t be able to setup the frames within Godot correctly.
In this case, the spritesheet includes a few different characters, so the Animation section within the Sprite2D node will include the frame info for all these characters, even though we’ll just be using one for now. You’ll have to setup the Hframes and Vframes to match the amount of frames within the sprite sheet, and then from there you can just flip the Frame value to change what frame is active. This Frame field is what gets animated with the Animation Player.
For the Animation Player, we just need to setup an animation for Up, Down, Left, and Right. Since the spritesheet i’m using only has 3 frames for each of these directions, i’m going to set the animation time to 0.6 seconds, so that each frame will be shown for 0.2 seconds. Its also important to mark the animations as looping. Here’s what that this looks like.

Movement
To get our character to move around the screen, we need to start scripting. I may create another post that goes into depth on how this works, so for now i’ll just describe a higher level idea of whats going on.
In Godot, you can create a function on a node called _physics_process. This is called by the engine for each frame, and is provided a number (the delta) that tells you how long the last frame took to render. This can be used to time how fast things happen. This is good to do so that no matter how fast a computer is, the speed in which things happen is roughly the same.
So, in this _physics_process function, we setup a variable to hold what direction inputs the player is currently holding down. This variable is a Vector2, which you can think of as sort of like a joystick. It can tell you how far an input is on the up/down, and the left/right axis. This is then used to figure out what direction the character on the screen needs to move. With this info, we can also figure out what animation needs to be playing. Right now there are 8 animations, walking in all 4 directions, and idling in 4 direcitons.
Here’s what that code looks like so far:
extends CharacterBody2D

var speed = 200
var current_direction = "down"
var is_moving = false
@onready var animation_player = $AnimationPlayer

func _physics_process(delta: float) -> void:
	# figure out what direction the player is wanting to go
	var input = Vector2.ZERO

	input.x = Input.get_action_strength("WalkRight") - Input.get_action_strength("WalkLeft")
	input.y = Input.get_action_strength("WalkDown") - Input.get_action_strength("WalkUp")
	input = input.normalized()

	# deal with either idling, or walking
	if input != Vector2.ZERO:
		# walking
		is_moving = true
		current_direction = get_player_direction(input)

		# ensure we're moving in a frame rate independent way
		velocity = input * speed * delta
	else:
		# idling
		velocity = Vector2.ZERO
		is_moving = false

	# update the animation
	update_animation()

	# and finally move the player on the screen
	move_and_collide(velocity)

func update_animation():
	# This function checks the current direction and if we're moving
	# and then plays the animation that matches
	var animation_name = ""
	if is_moving:
		animation_name = "walk_" + current_direction
	else:
		animation_name = "idle_" + current_direction
	animation_player.play(animation_name)

func get_player_direction(input_vector):
	# here we're just seeing what direction our input is and
	# returning a string that tells us what direction to go
	# may not work for diagnal, will revisit later
	if input_vector.x > 0:
		return "right"
	elif input_vector.x < 0:
		return "left"
	elif input_vector.y > 0:
		return "down"
	elif input_vector.y < 0:
		return "up"
Map
Now that we can walk around, we need something to walk around on. To do this, we will be using a Tilemap, which is a grid where we can plug in different square tiles that, all together, will look like a map. Using a tilemap makes it really easy to build maps, and is the common way for pixel art style games.
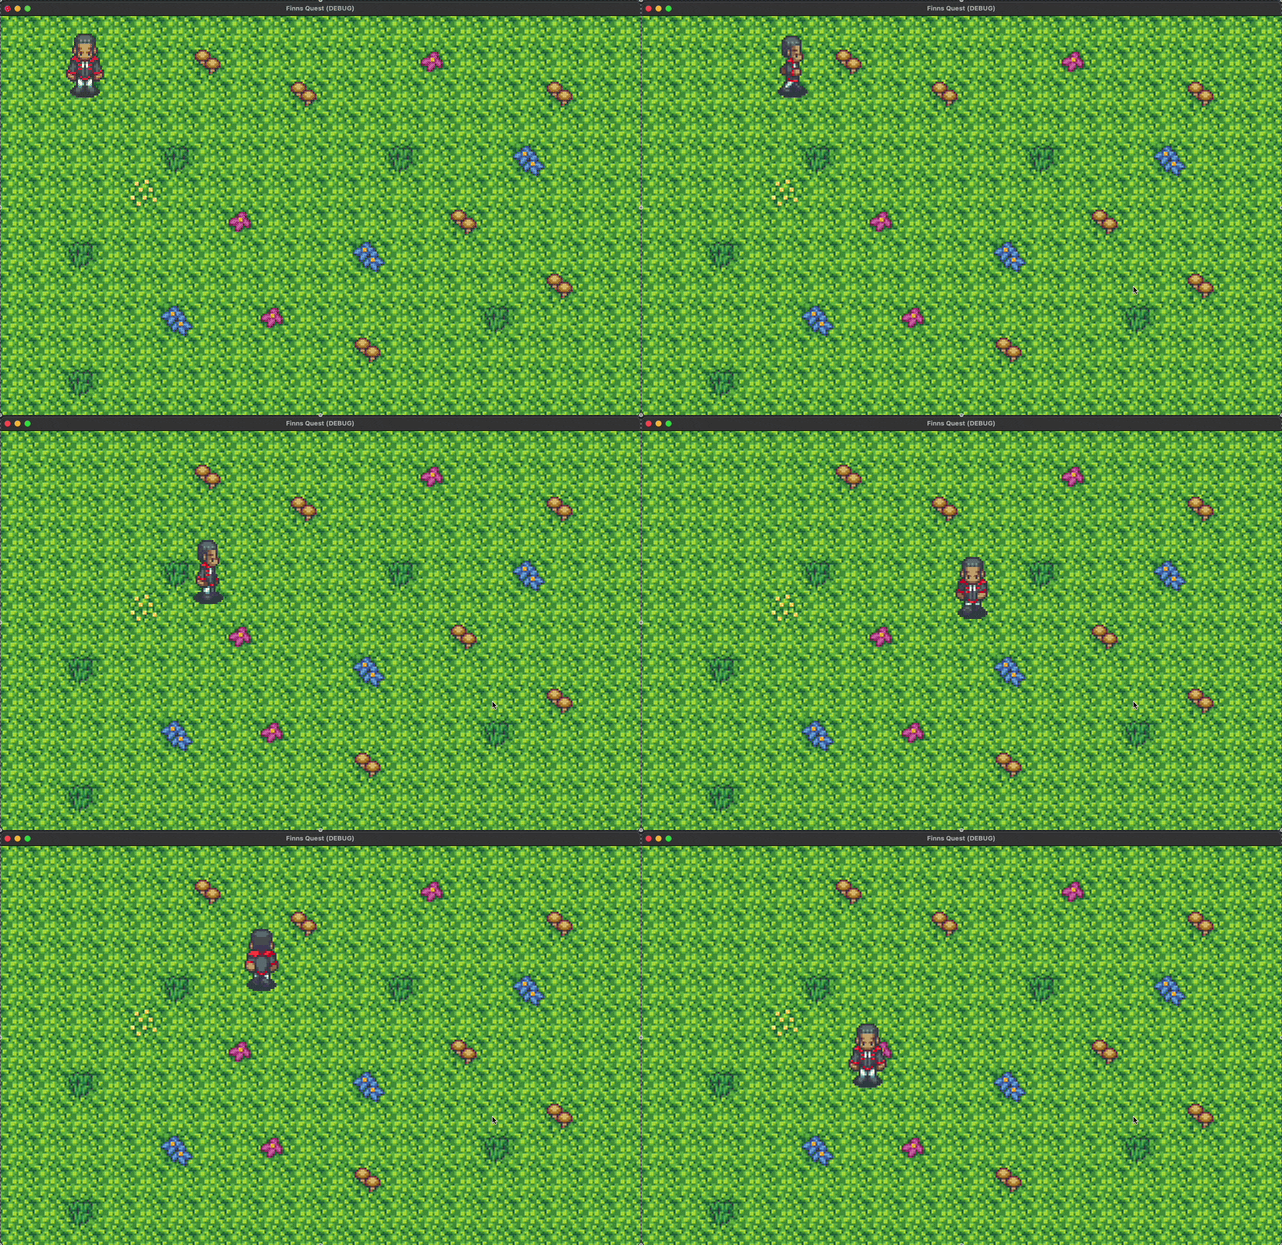
Building tilemaps can be a pretty involved process, where you can setup things like having the system automatically select the right tiles when you add things like water, or randomizing tiles so that you can add flowers and things like that, so you don’t have just the same square of grass everywhere. For now, we’re just going to hand build a simple map to move things along. Here’s what that looks like:

Our map currently is just one screen big, but later we will make this much bigger, as well as be able to move between maps. I’m thiking we are going to have a map for where the players house is at, a town map, and then a wilderness map.
Final Thoughts for Day 2
I’ll be honest, I have been at this step quite a few times before, but i’m hoping that by documenting the process a bit more, I can keep better track of my progress, my thoughts as to why certain decisions are being made, and be able to tackle larger problems by keeping better notes. So far things have been pretty straight forward, since ive been down this path before, but soon we will get into some more interesting game design decisions that i’ve strugged with in the past.
Lastly, i’m going to try to create builds for each day that I will host on the github repo, to let people donwload and check on my progress, as well as giving me a chance to better have a way of auto-building the game in the future. This time I will probably just manually build the game and upload the results though. I can see that signing the game so that its easier to run without GateKeeper issues is a bit complex. Sounds like a good opportunity for another post!
